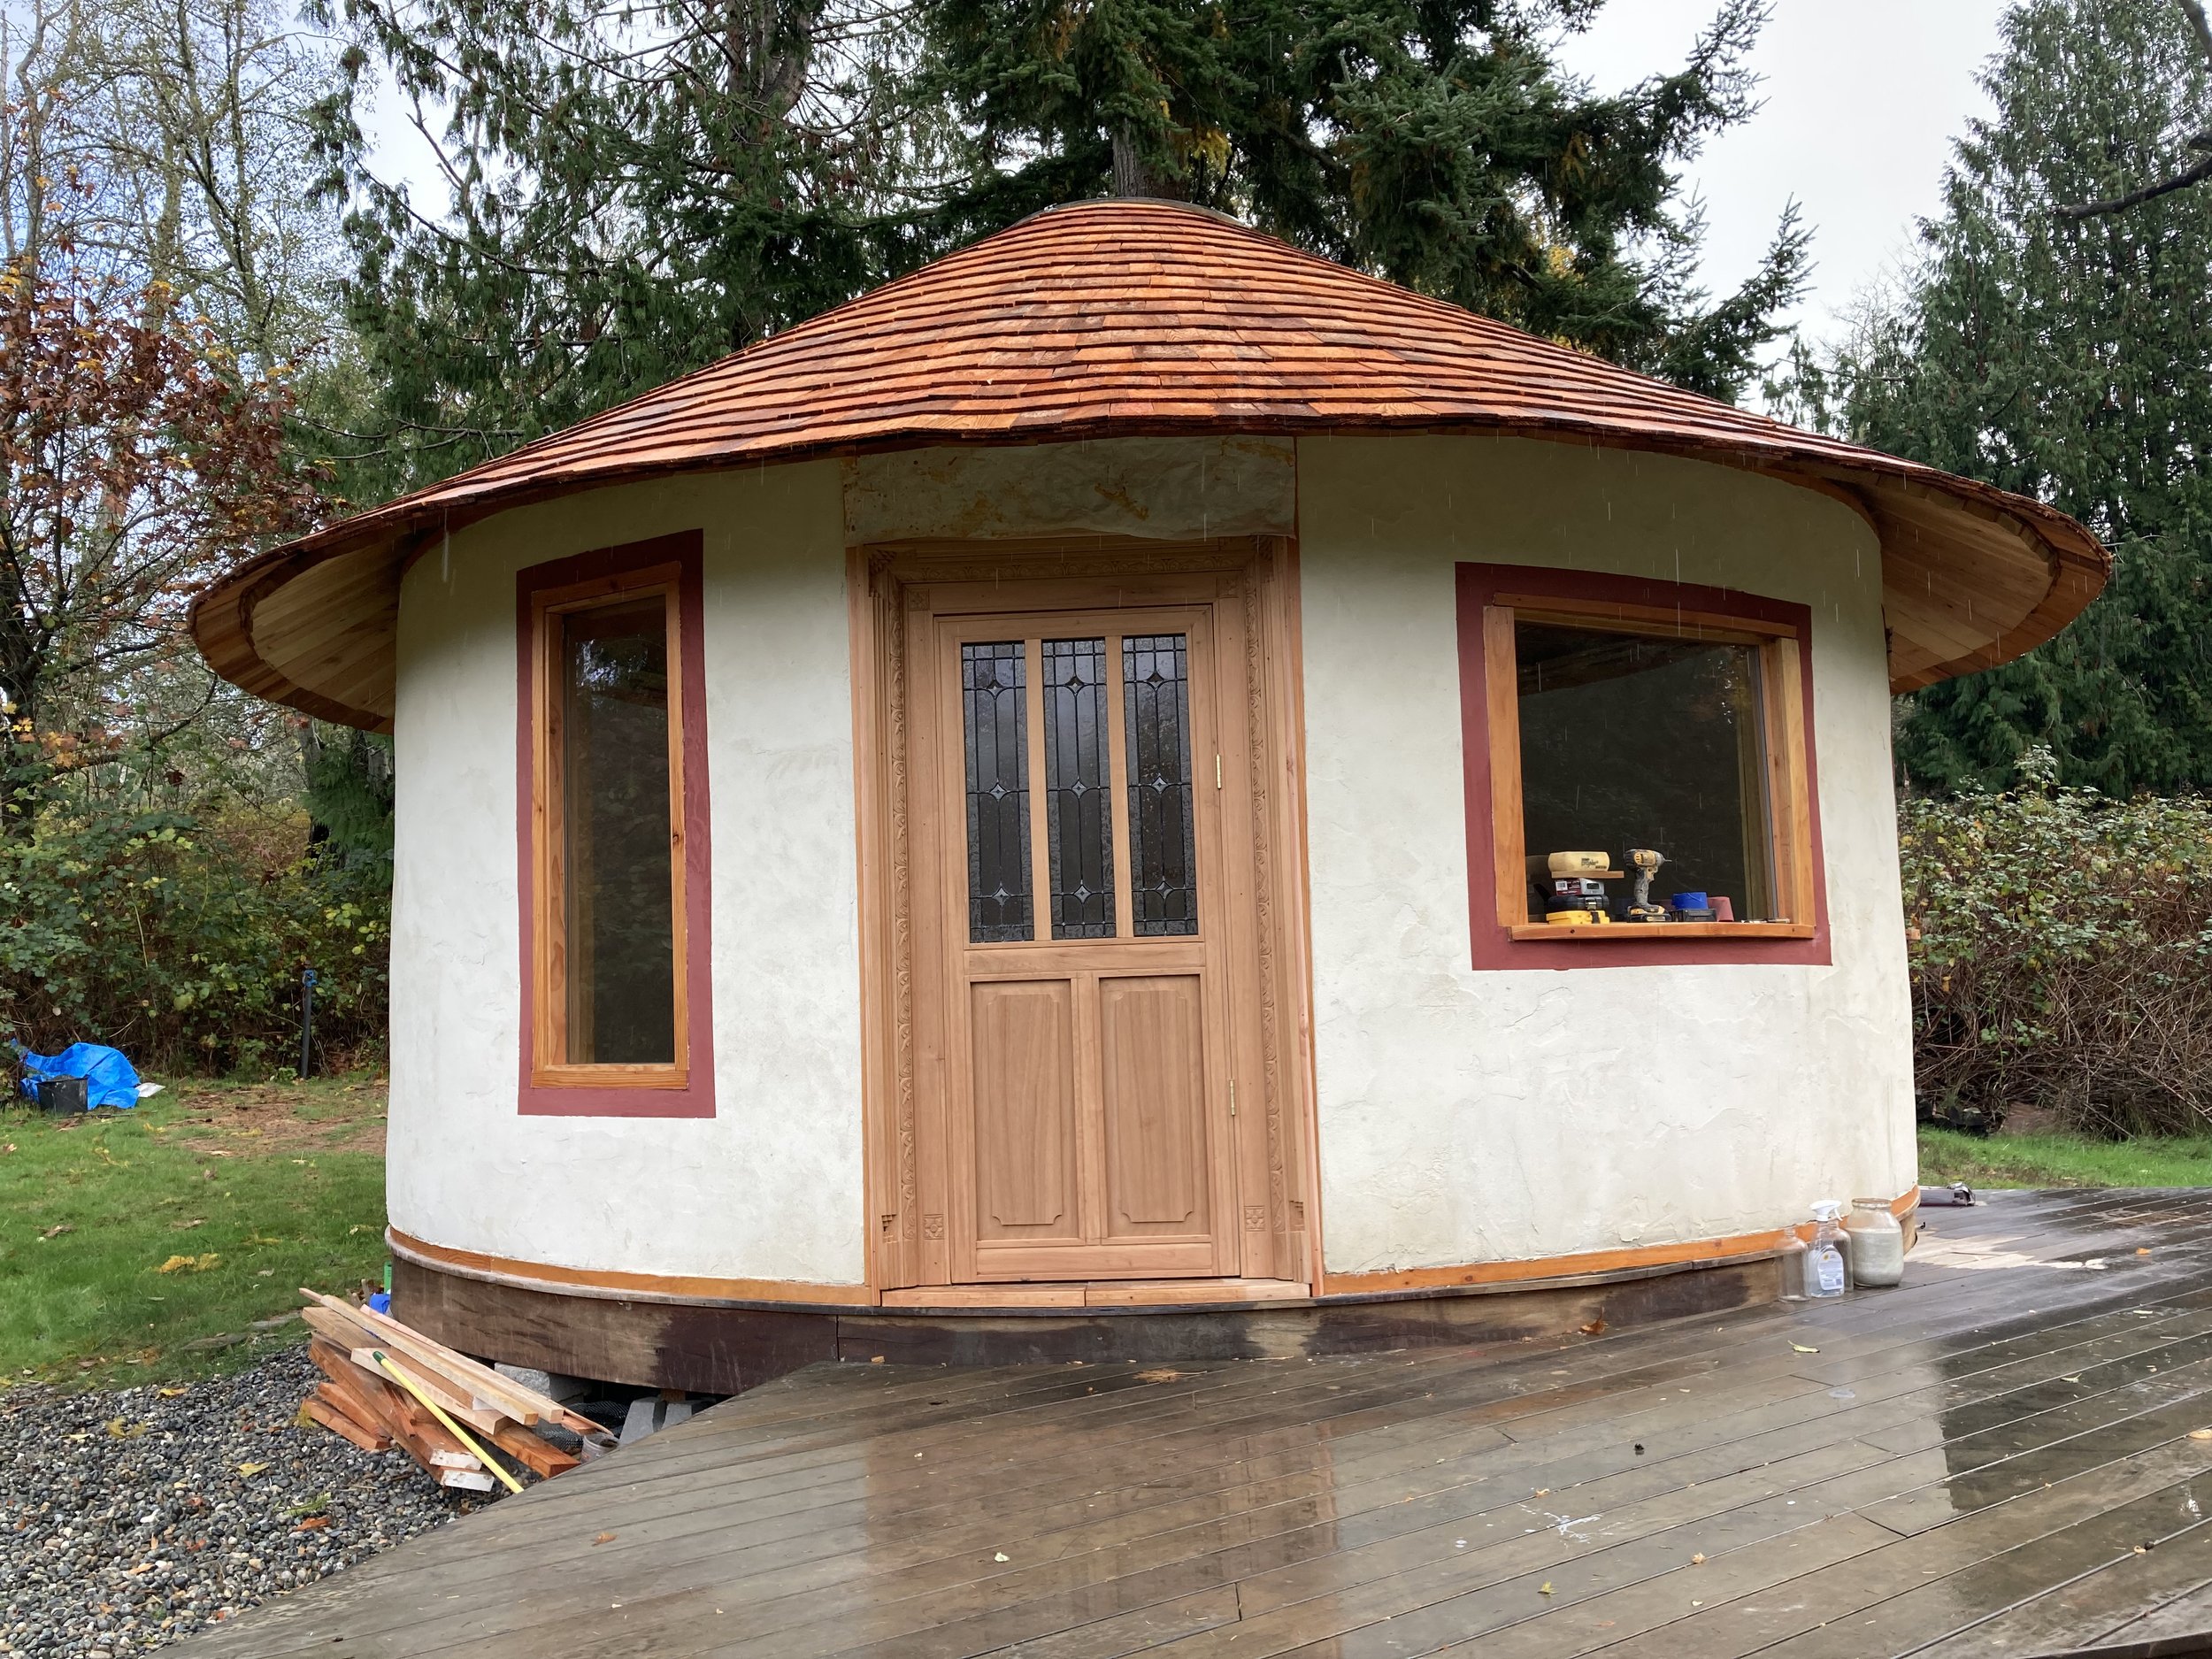
Temple of Light: Building With Slip Straw In The Round
I would like to thank Tiny House Blog for the opportunity to present the Temple of Light. A 20 foot diameter round slipstraw temple built in the summer of 2023. I am hopeful that this will give you an idea as to the benefits of building with slip straw and how simple it actually is.
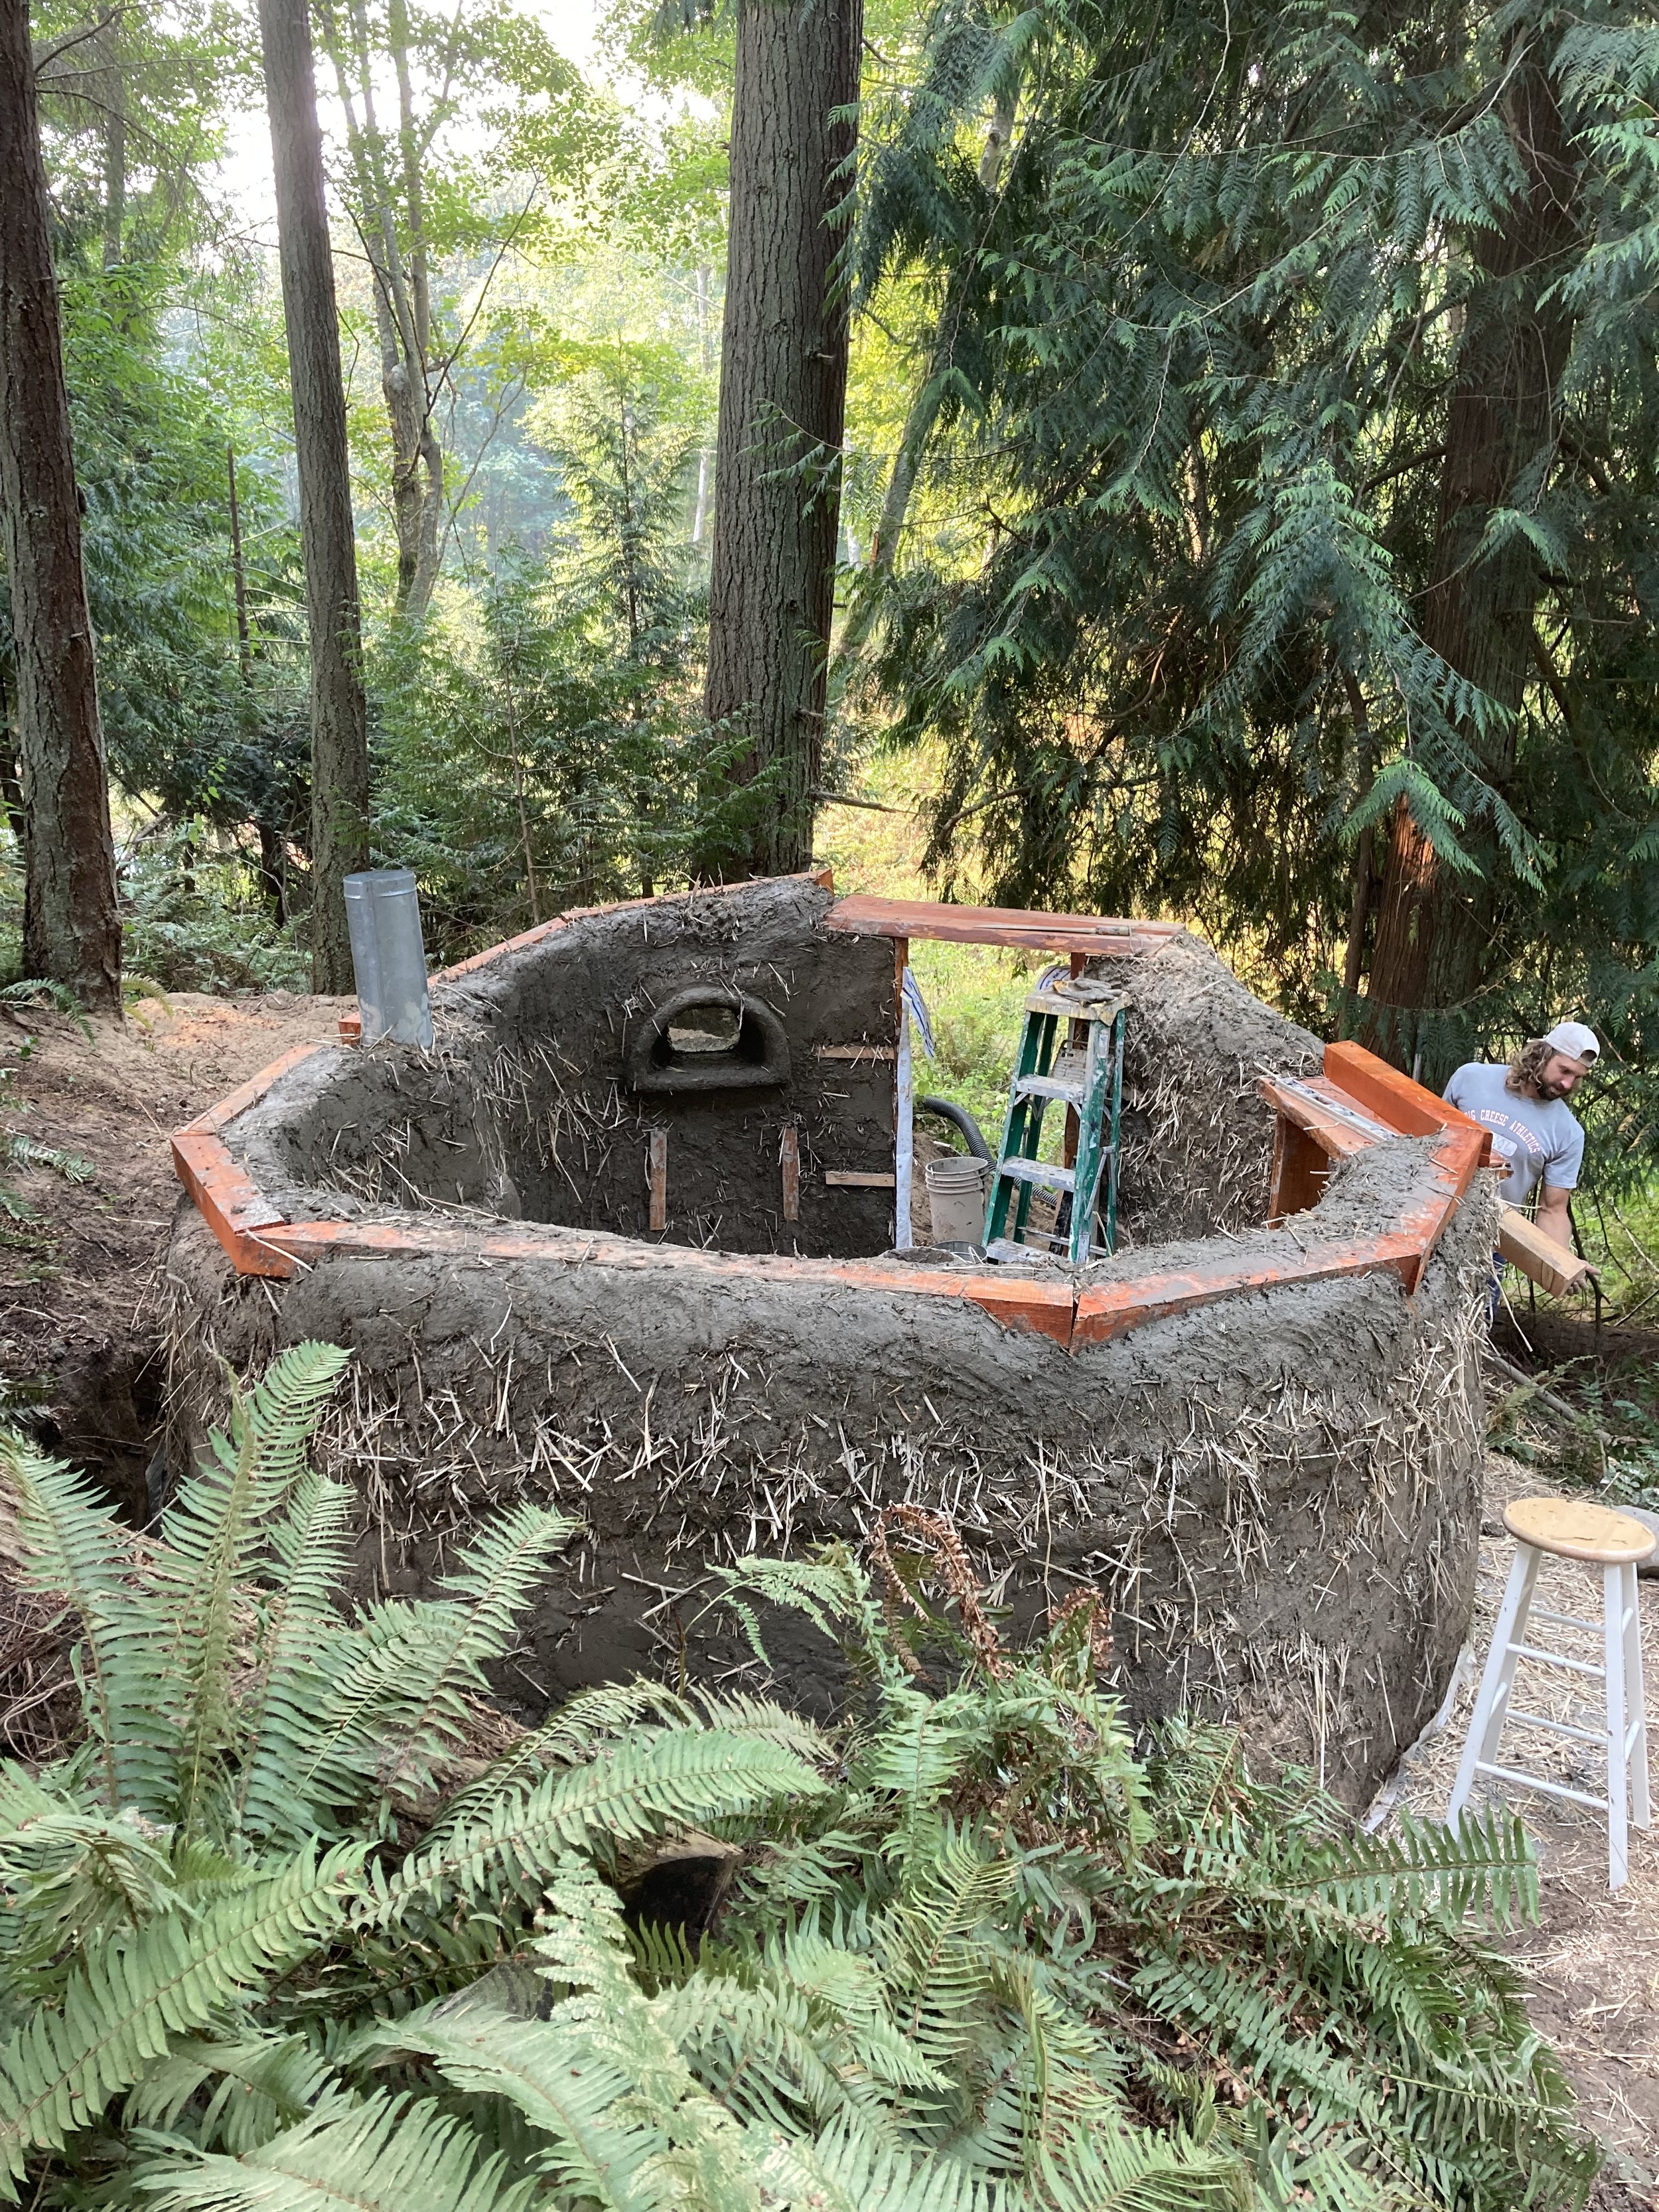
Slip straw , also called Lite Straw Clay, or Super Adobe is basically straw mixed with clay slip and packed into a framework. In my case, I used 2x8 studs framed in a circular 20 food diameter pattern. I found that building in the round with slip straw was just as easy as building a straight, or, rectolinier type lay-out.
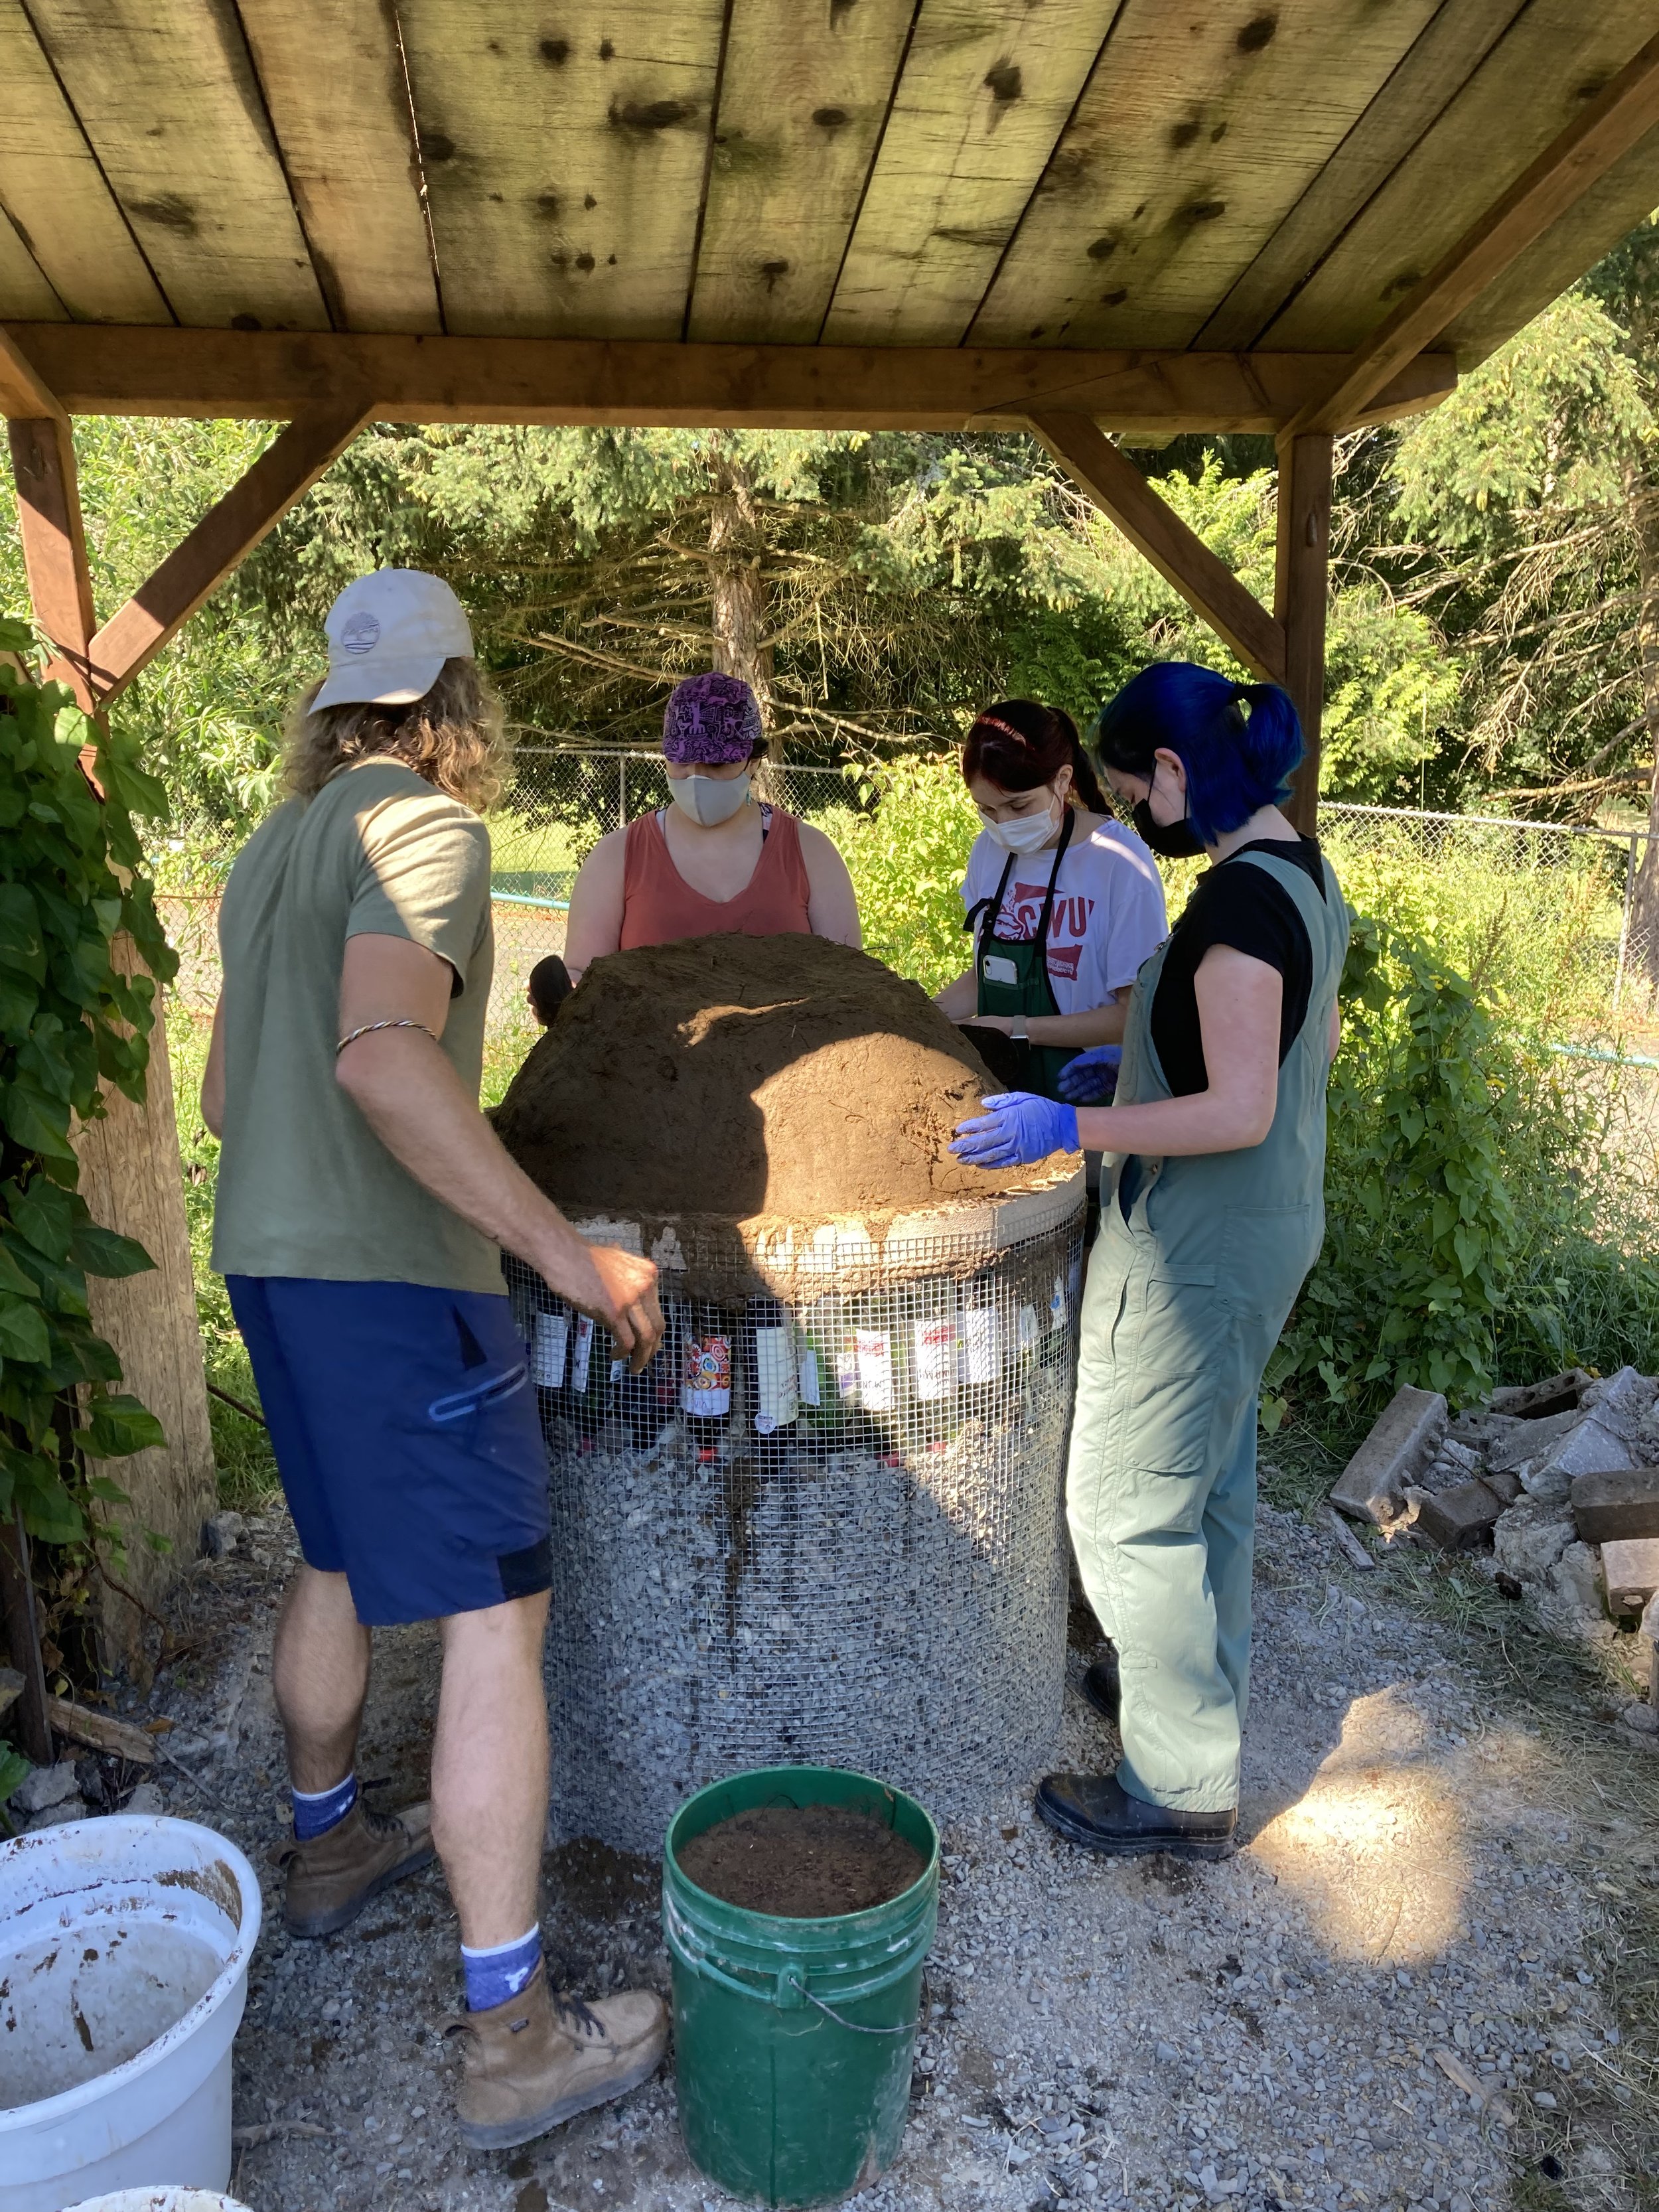
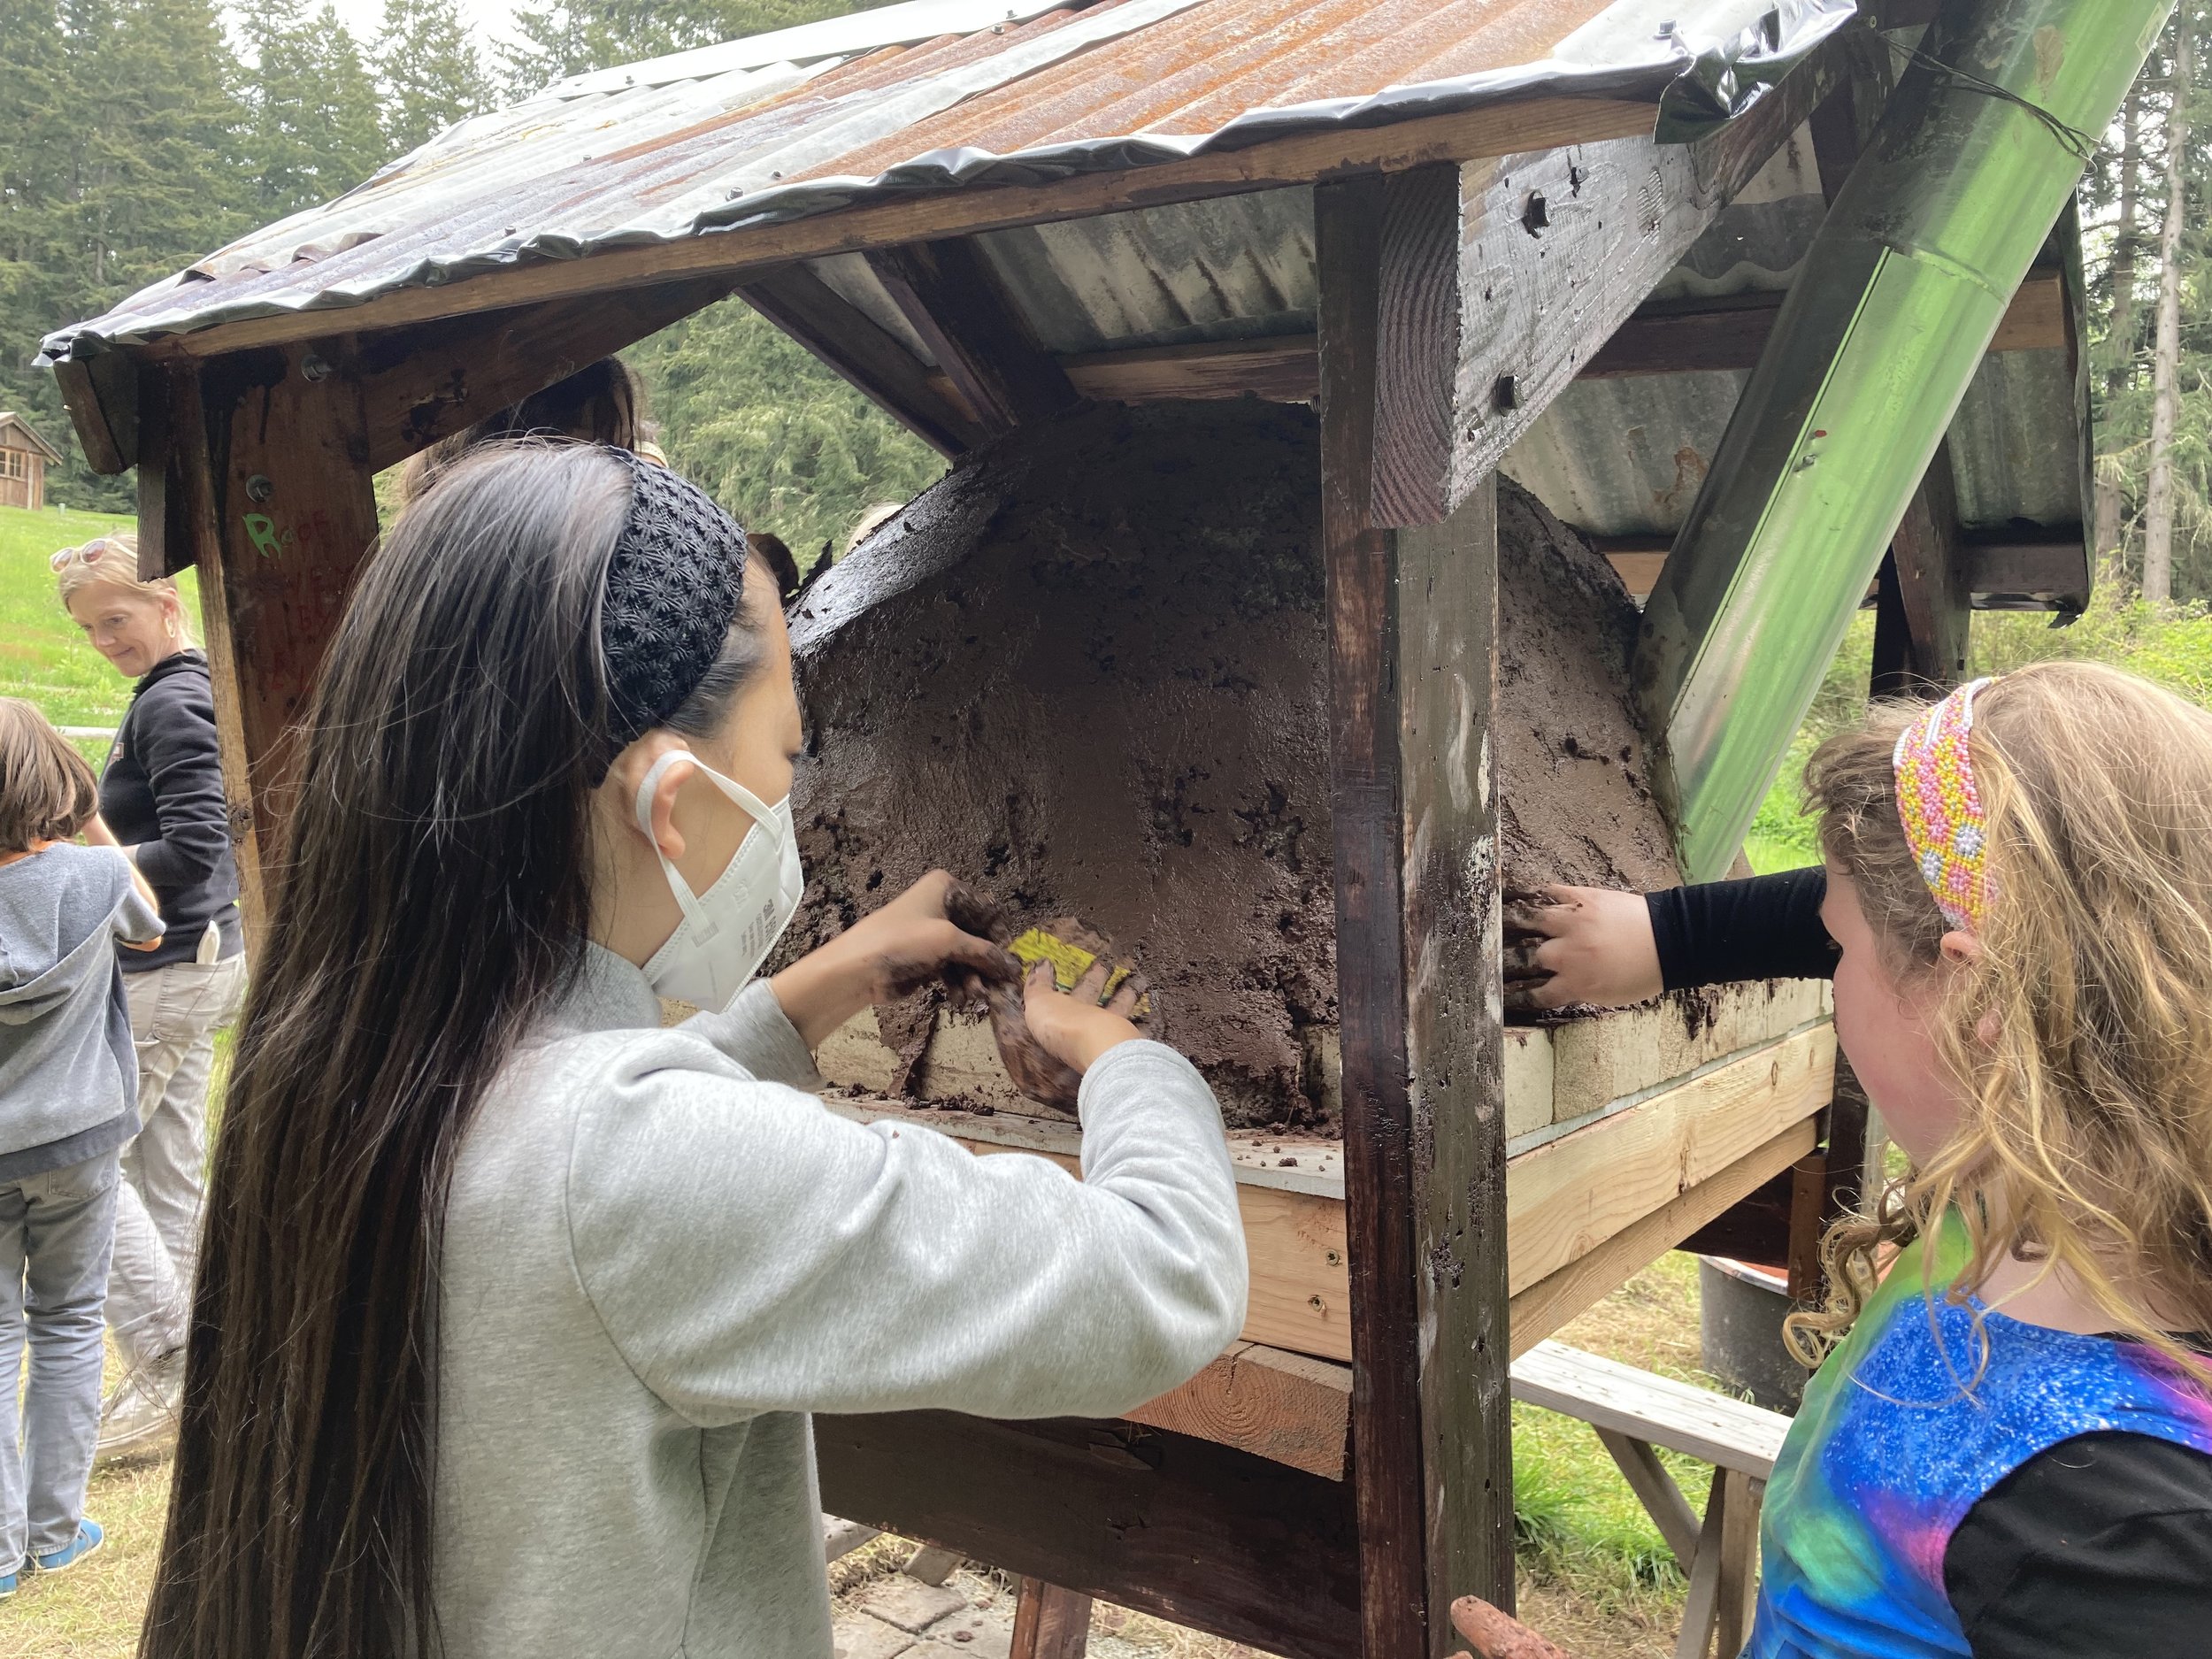
Straw can be wheat, oat, barley or rye, but not hay. Straw has more insulating properties and is stronger than hay. The clay can be from any source like left over poetry clay, ground clay, or store bought clay. If it is ground clay it should have approximately 50% or more clay to soil ratio. An easy way to find the ratio is to do a shake test: take a handful of soil and put it in a clear glass jar with water and shake. When settled out the clay is the top layer-measure that to get your percentage. I found my clay at a local concrete company. They typically wash the sand that is used for concrete and the washings contain rock dust, or felspar, which is actually clay. This is a waste product of concrete production and they are usually more than happy to part with it. I used about three half ton pickup truck loads for my project. Once clay is mixed with water to a pancake batter consistency it is ready to go. My method was to take about one third of a bale and spread it out on a large tarp and pour about 2-3 five gallon buckets of slip on it. I would then mix the slip with the straw using the tarp to roll it back and forth. The finished product should be thoroughly wet with slip and no dry spots. It's not rocket science and there is a range of variability that is acceptable, so don't worry-just go for it and adjust as needed.
My stud framing was 24 inch on center. I used quarter inch plywood as forms to pack the straw into. My plywood was cut to a height of two feet and a width that spanned at least two, but sometimes four studs (see pics). Starting at the base the plywood is screwed onto each side of the studs and in my case, “wrapped”, bending the ply to the curve of the round structure. I used a short piece of 2x4 or 2x2 to pack the straw in as tight as possible. When the straw reached the two foot height I would move the forms up one and a half feet so there was some overlap with the prior layer of wall.
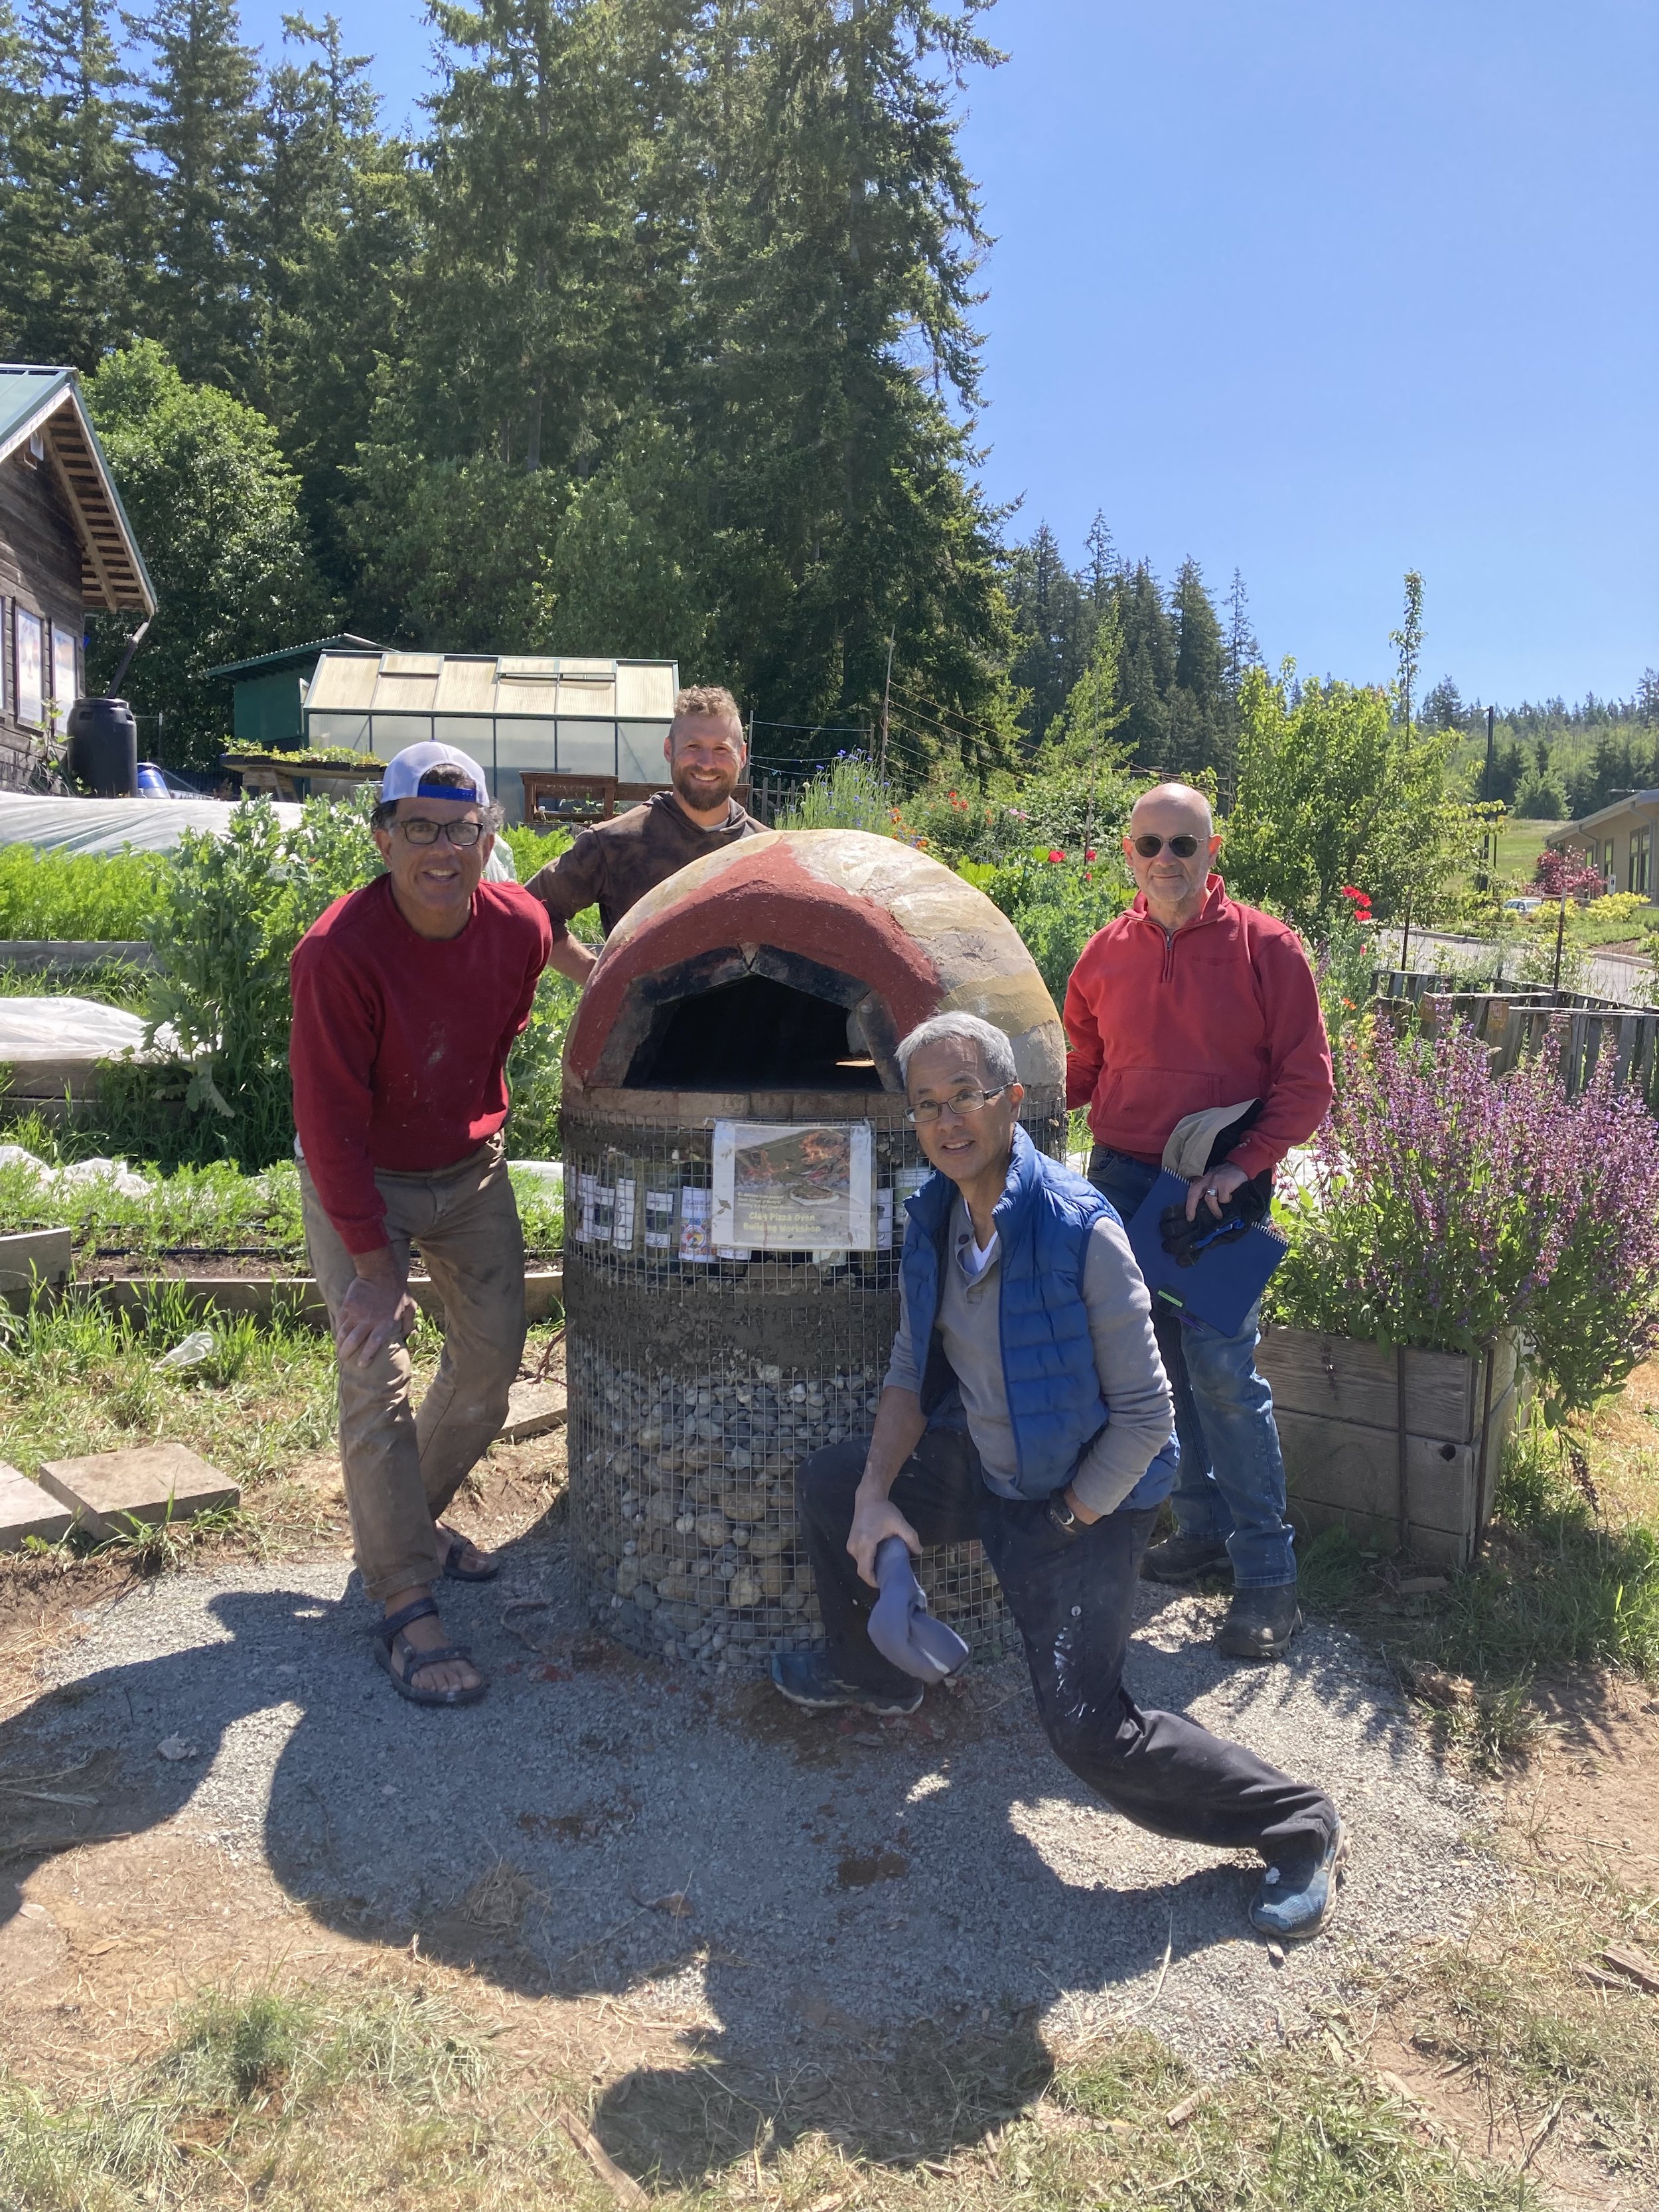
In our case it took one day to frame the entire 20 foot circumference of wall with studs and nine days to pack straw to the top plate. It helped that we used 8 foot sections of studs with no cutting and no waste. It also shows how fast and easy this part of the building went. We had a crew of at least three people for the straw packing-one person to mix and two to pack. It goes faster with friends!
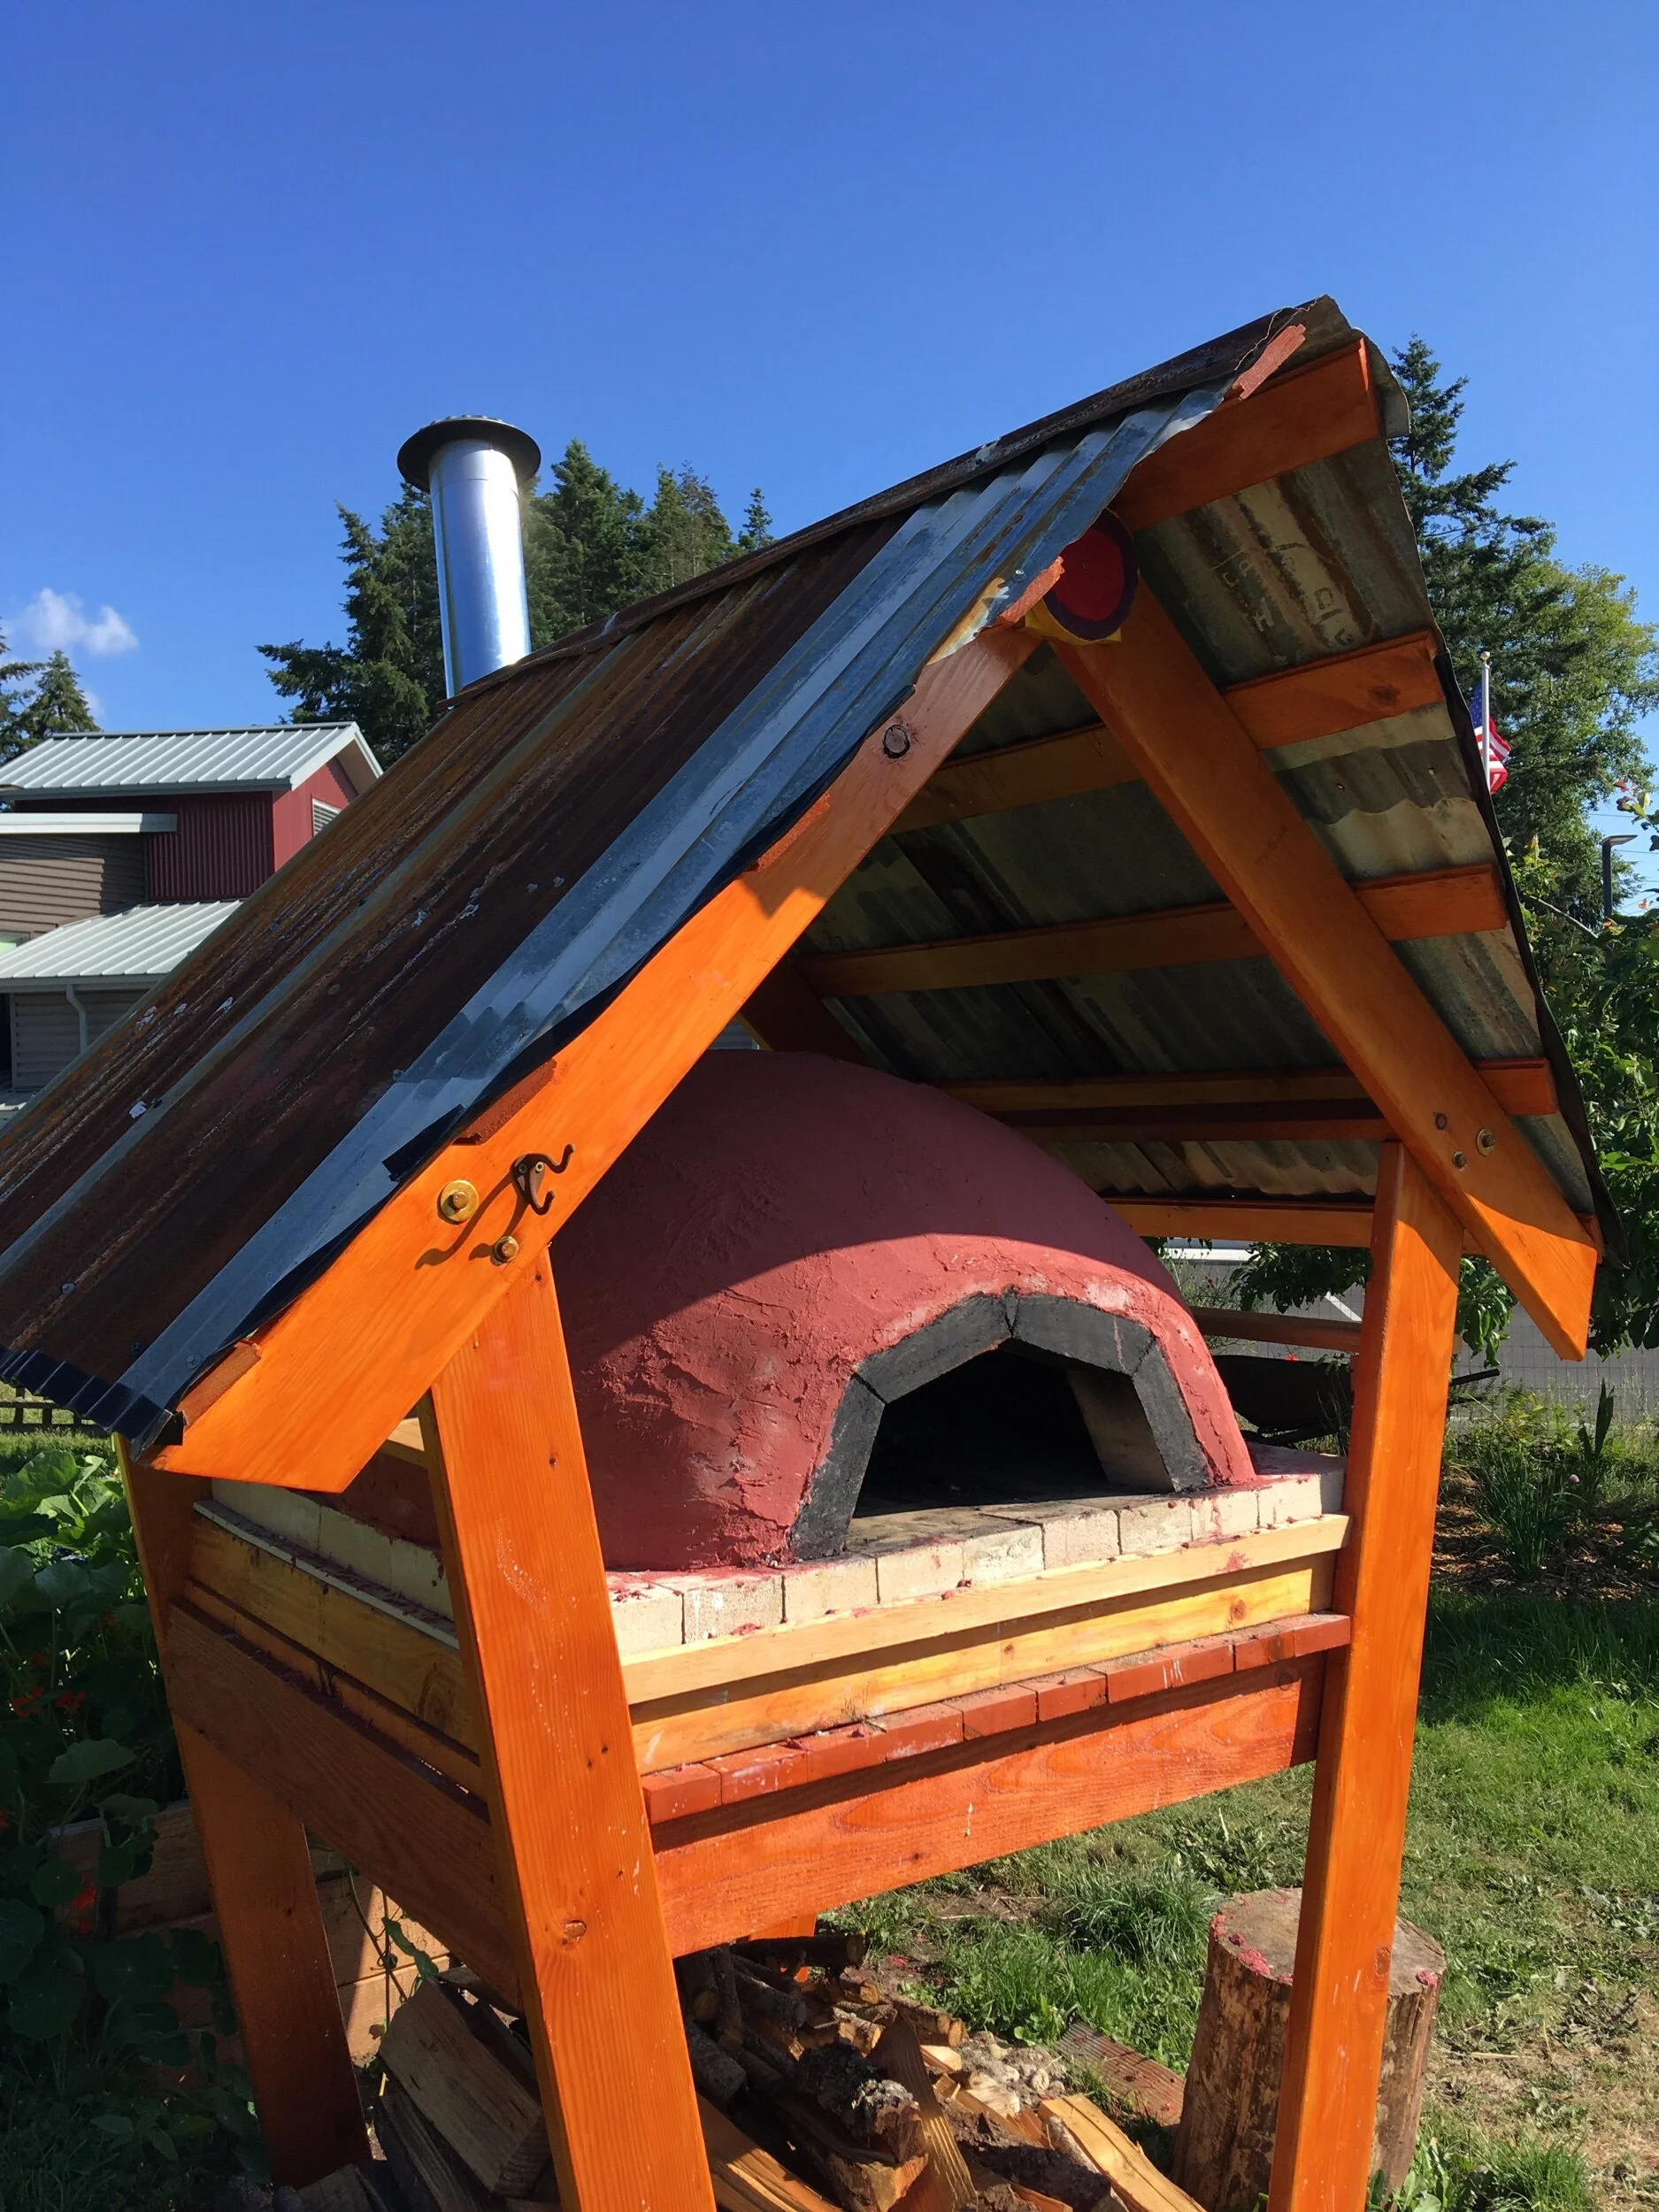
We then moved onto the roof build which I will not get into at this time since this is mainly about slip straw. Here are a few essentials when building with slip straw: first, a good foundation. There are alot of books and the internet which cover this topic, but the main thing is that of protecting the wall from ground water and splash from run off. So the foundation needs to get the walls off the ground to keep things dry. Next, determining the thickness of your walls. Slipstraw insulates to about 2-3 R per inch of thickness, so a 7.5 inch wall with an inch of plaster should be in the range of 20-25 R. Plaster helps insulate, but also protects the wall from the elements. Plaster needs to breathe, so no tyvec or stucco or tar paper! Only earthen plaster like clay or lime. A great resource for plaster is called The Natural Plaster Book by Ceder Rose Guelberth; Dan Chiras. Last, but probably not least, is a good roof with a good eve that gets the runoff away from the wall to prevent splash.
Benefits of slipstraw are vast, but here are a few: For most areas straw and clay are local and sustainable. See what you can find in your local radius of five miles or ten miles-you may be surprised! Slipstraw minimizes the carbon footprint of transportation and shipping. Also, there is minimal if any post-construction waste. (Typically conventional post-construction waste accounts for as much as one third of our landfills!) Since we used 8 foot studs there was no cutting and no waste and what little straw we had left over was great for mulch in the garden. Slipstraw breathes! It filters the air and creates the healthy negative ions. It provides thermal mass (clay) as well as insulation, so it holds the heat in winter and the cool in summer. This makes for less expense with heating and cooling, and creates comfort. Bugs don't eat it and as long as it is dry, it will not rot. It is also fireproof. There are other less tangible benefits like its sound dampening qualities and its warm attractive look and appeal and the safe and quiet qualities of building with it. . Basically it is all around great stuff!
There are many other small specific details about building with slipstraw that you can find online or in books. I hope that this small intro helps you and motivates you to give slipstraw a try on your next project! Start small, experiment. Find what works best for you. Feel free to reach out to Ancientearthbuilding.com for any comments or questions or possible upcoming workshops. Thank you for reading along! Enjoy the pics, and Happy building!
We started our project late-in early June, and managed to finish by the end of August.( Three months with mostly just two of us). We had a few straw packing parties and plaster parties along the way, which added to the fun.